July 6, 2026
Solar Eclipse Time Lapse: 2026 Guide for Spain & Iceland
You're probably in one of two camps right now. You're either building a trip around northern Spain and trying to figure out whether that low western Sun is a gift or a trap, or you're eyeing Iceland and wondering how much weather risk you can tolerate for a cleaner sky angle. Both are valid. Neither is simple.
A good solar eclipse time lapse is never just about pressing record. For the August 12, 2026 eclipse, essential work starts long before first contact. You need a location that fits the eclipse geometry, a filter plan you can execute under pressure, an automated capture workflow that survives the light drop, and a post-processing method that turns a pile of frames into a sequence that feels like totality.
Europe hasn't had a total solar eclipse like this since 1999. In Spain, the event brushes the horizon near sunset, which makes foreground composition far more important than it is for a high-Sun eclipse. In Iceland, the angle is easier but the logistics are harsher. That split is what makes this eclipse so interesting for photographers.
Table of Contents
- Capturing a Once-in-a-Generation Sunset Eclipse
- Strategic Planning for the 2026 European Eclipse
- Essential Gear and Solar Filter Strategy
- Automating Your Solar Eclipse Capture
- Post-Processing Your Time Lapse for Maximum Impact
- Advanced Tips and Troubleshooting Common Issues
Capturing a Once-in-a-Generation Sunset Eclipse
The most memorable eclipse sequences don't just show the Sun. They show the world reacting to it. That's why the 2026 event is such a rare photographic opportunity. In northern Spain, the corona will sit low toward the west, and the strongest frames may include cliffs, sea haze, rooftops, or distant ridgelines. In Iceland, the appeal is different. The sky geometry is easier, and the eclipse can feel more expansive, with more room to show the changing light over open land or coast.
The event itself is short where it matters most. The maximum duration of totality for the August 12, 2026 solar eclipse will be exactly 2 minutes and 18.21 seconds, occurring in the Atlantic Ocean just 45 km off the western coast of Iceland according to the 2026 eclipse reference page. That number matters because it tells you what kind of time lapse this is. It isn't a casual all-day sequence. It's a precision shoot with one brief peak and no second chance.
Spain turns the eclipse into a horizon problem. Iceland turns it into a weather and mobility problem. Both reward preparation, but in different ways.
Field reality: A sunset eclipse punishes lazy site selection. If your western horizon is blocked, the best camera settings in the world won't save the sequence.
Before I commit to any Spanish location, I want to know exactly what the western view looks like from tripod height, not from a tourist overlook photo. That means checking maps, terrain, and local timing, then comparing them against a planning resource built specifically for the event, such as this Spain eclipse guide for 2026.
Strategic Planning for the 2026 European Eclipse
The big planning mistake is thinking Iceland and Spain are interchangeable because they both sit under the path. They don't ask the same thing of a photographer. They produce different kinds of footage, demand different travel habits, and fail in different ways.
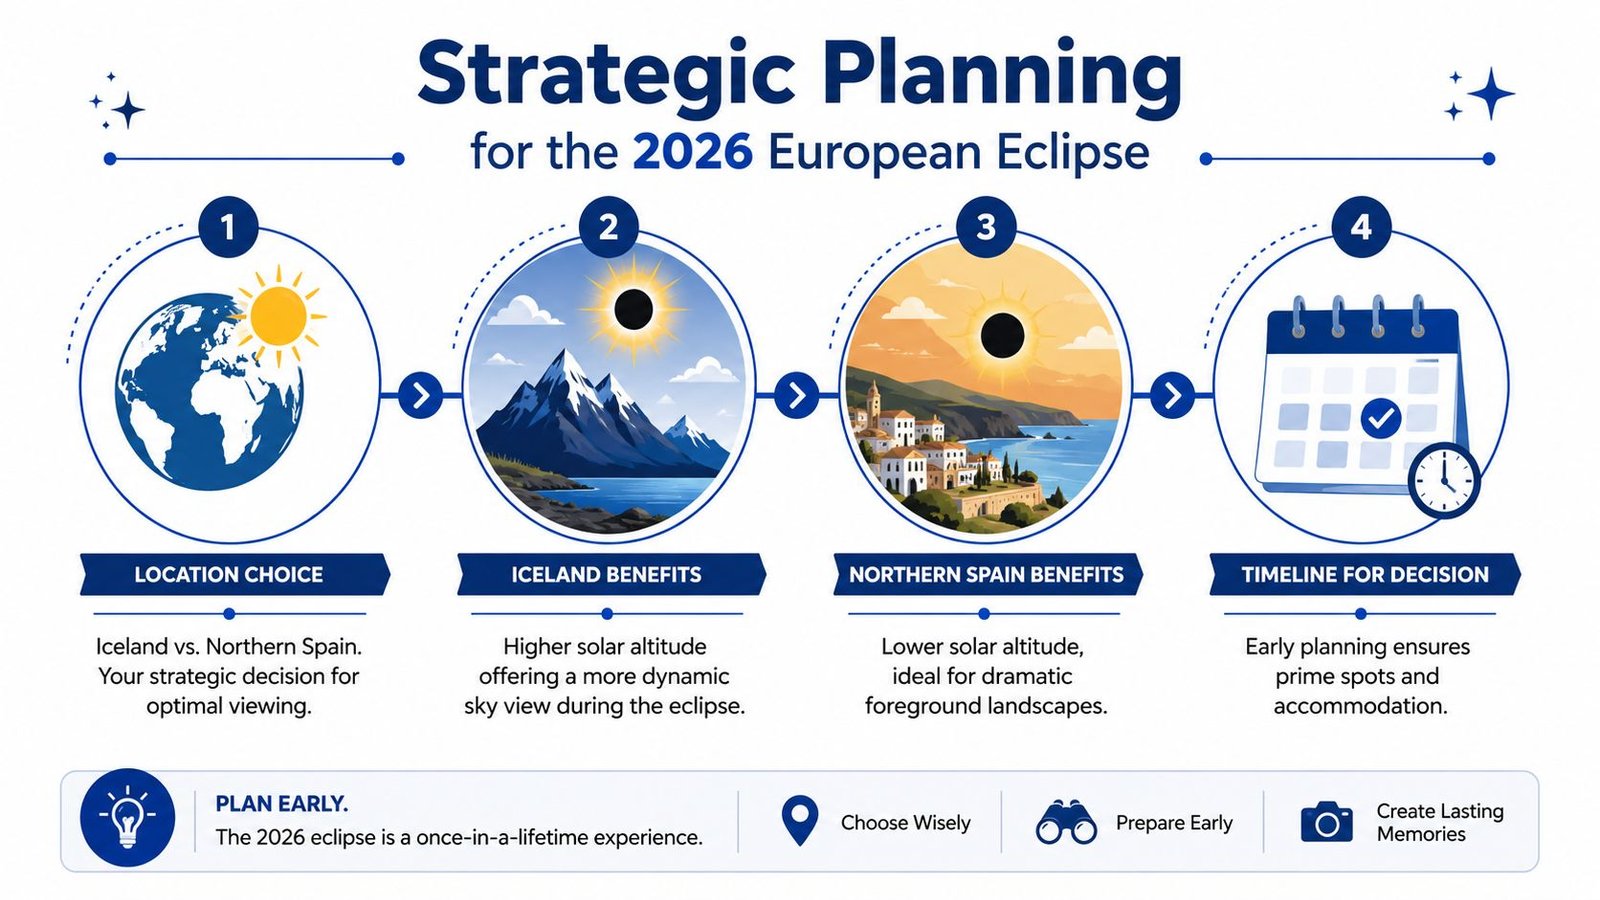
Spain gives you drama, Iceland gives you altitude
Spain is the more cinematic option. The low Sun creates a stronger relationship between eclipse and surroundings. If you want a sequence where totality feels anchored to place, Spain has the edge. The trade-off is severe. You need a clean, low western horizon, and you need to think about haze, distant terrain, and local obstructions that would be irrelevant in a higher-altitude eclipse.
Iceland is less about horizon choreography and more about surviving uncertainty. The maritime weather can change fast, so rigid plans are weaker there. A photographer who can move on eclipse day has a better chance than one who locks into a scenic but inflexible base.
A practical comparison helps:
| Location | Main strength | Main risk | Best mindset |
|---|---|---|---|
| Northern Spain | Low-Sun foreground storytelling | Horizon blockage and haze near sunset | Scout one shot deeply |
| Iceland | Higher solar altitude and easier sky framing | Volatile weather and remote logistics | Stay mobile and adapt |
There's also a public access factor. Approximately 3 million people in Spain's Asturian Depression and other northern regions will be within the path of totality, making it one of the more accessible European totality zones, with August holiday demand increasing pressure on accommodation in northern Spain and western Iceland, as noted in this eclipse path discussion. That doesn't tell you where to stand, but it does tell you what kind of booking pressure to expect.
What actually decides the shot
For Spain, I'd choose the site in this order:
- Horizon quality: The Sun will be low, so the west matters more than almost anything else.
- Access under pressure: A beautiful headland is useless if traffic or crowding turns arrival into a gamble.
- Foreground discipline: Use a foreground only if it strengthens the sequence. Don't cram in landmarks just because they're famous.
For Iceland, I'd reverse the logic:
- Mobility first: Book a base that lets you pivot.
- Road practicality: Remote beauty is fine until low clouds force a relocation.
- Simple composition: Big skies and stable framing often beat overdesigned scenes there.
The strongest 2026 time-lapse plans won't chase a postcard. They'll match composition to eclipse geometry and leave room for day-of decisions.
If you're still deciding where to base your trip, the most useful first step is to compare local path details with a dedicated map such as this where to see the total solar eclipse in 2026 guide.
Essential Gear and Solar Filter Strategy
A sunset eclipse exposes weak gear choices fast. In Spain, the Sun sits low enough that you may be shooting across warm air, coastal wind, and a cluttered horizon. In Iceland, the problem is less horizon geometry and more weather, cold hands, and the need to keep the setup simple enough to move if conditions shift.
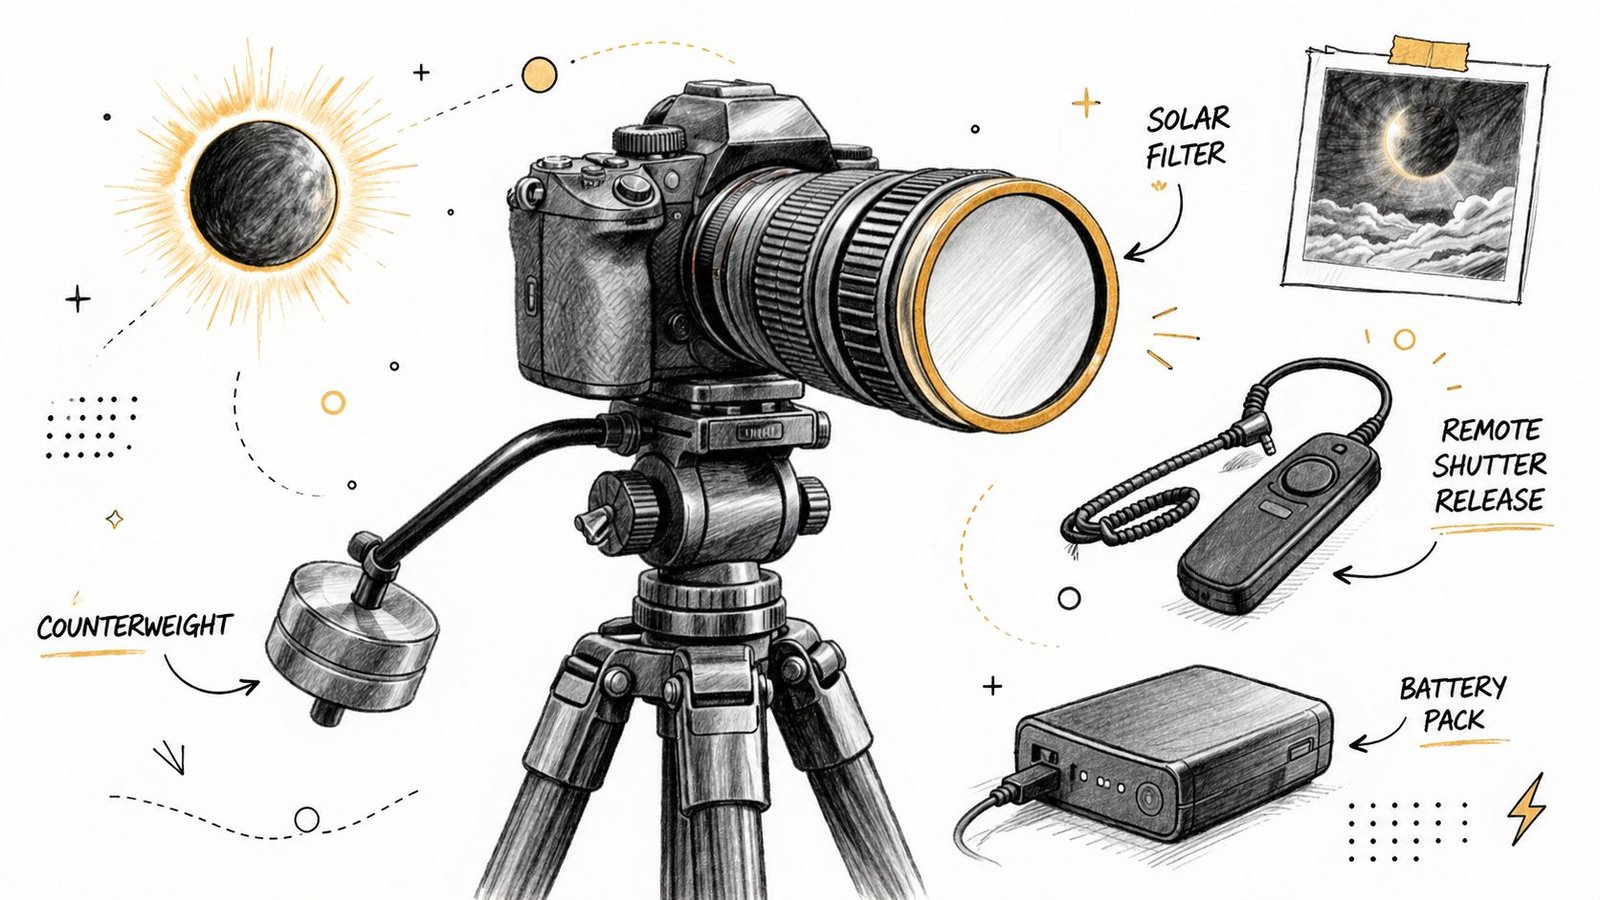
Build the rig around stability first
The tripod matters more than the camera body. Long eclipse sequences punish flex, sloppy heads, and center columns that twist in wind. By the time exposures lengthen near totality, even small vibration shows up as shimmer or frame drift, and that ruins a time lapse faster than using an older camera ever will.
My default kit splits into two practical builds:
- Wide-angle setup: Best for Spain if the low western horizon and changing ambient color are part of the story. It also gives you more margin if the Sun drops into thin haze or broken cloud near the horizon.
- Telephoto setup: Best if the eclipsed Sun itself is the subject and you have already tested the framing at a low altitude. In Spain, this usually means checking for rooftops, masts, hills, and heat distortion well in advance.
- Remote triggering: Use an intervalometer or dependable in-camera intervals so the camera runs untouched for the full sequence.
- Power and storage: Carry spare batteries close to your body in Iceland, where cold drains them faster. In Spain, heat and long setup windows make shade and battery swaps the bigger issue.
A heavy tripod helps in both countries, but for different reasons. In Spain, it resists coastal gusts and reduces small bumps if people are nearby at a crowded viewpoint. In Iceland, it keeps the rig settled on uneven ground and in persistent wind, where a light travel tripod often becomes the weak point.
Treat the filter as part of the shooting workflow
The solar filter is part of the sequence, not an accessory you deal with at the last minute. It needs to stay secure during the partial phases and come off cleanly when totality begins, then go back on without hesitation when totality ends. If that movement is clumsy in practice, it will be worse in the field.
Use a front-mounted photographic solar filter made for your lens diameter. Skip improvised material. The National Solar Observatory's 2026 eclipse safety guidance explains that safe viewing of the partial phases requires ISO 12312-2 compliant protection, and that standard matters for camera filters too.
A field-tested filter routine looks like this:
- Use a filter with a positive fit: Tape, friction-fit caps, and DIY mounts fail at the wrong time, especially in wind.
- Rehearse removal and replacement: Practice the exact motion with the tripod at shooting height, not at your desk.
- Test with and without the lens hood: Some combinations make filter handling slower or catch on the front ring.
- Carry a backup attachment method: If the main mount loosens, a simple secondary retention plan can save the shoot.
- Wear the gloves you plan to use in Iceland: Fine motor control changes when your hands are cold.
For Spain, I prefer the cleanest possible front setup because the low Sun compresses the timeline. You may be dealing with horizon haze, changing color, and the urge to recompose as the Sun approaches a feature in the setting. A filter that removes in one confident motion is safer than a clever setup that saves a few grams.
For Iceland, simplicity wins. If weather forces a roadside relocation, the best rig is the one you can redeploy quickly without recalibrating a complicated filter system or rebuilding a heavy accessory stack.
For certification checks and a last pre-trip review, use this eclipse safety guide for camera filters and viewing protection.
Automating Your Solar Eclipse Capture
At second contact, the plan either runs on its own or the sequence starts to unravel. That matters even more in Spain in 2026, where the Sun will be low and the final minutes before totality can tempt you to reframe against the horizon. In Iceland, the problem is different. Cold, wind, and fast setup changes punish any workflow with too many manual steps.
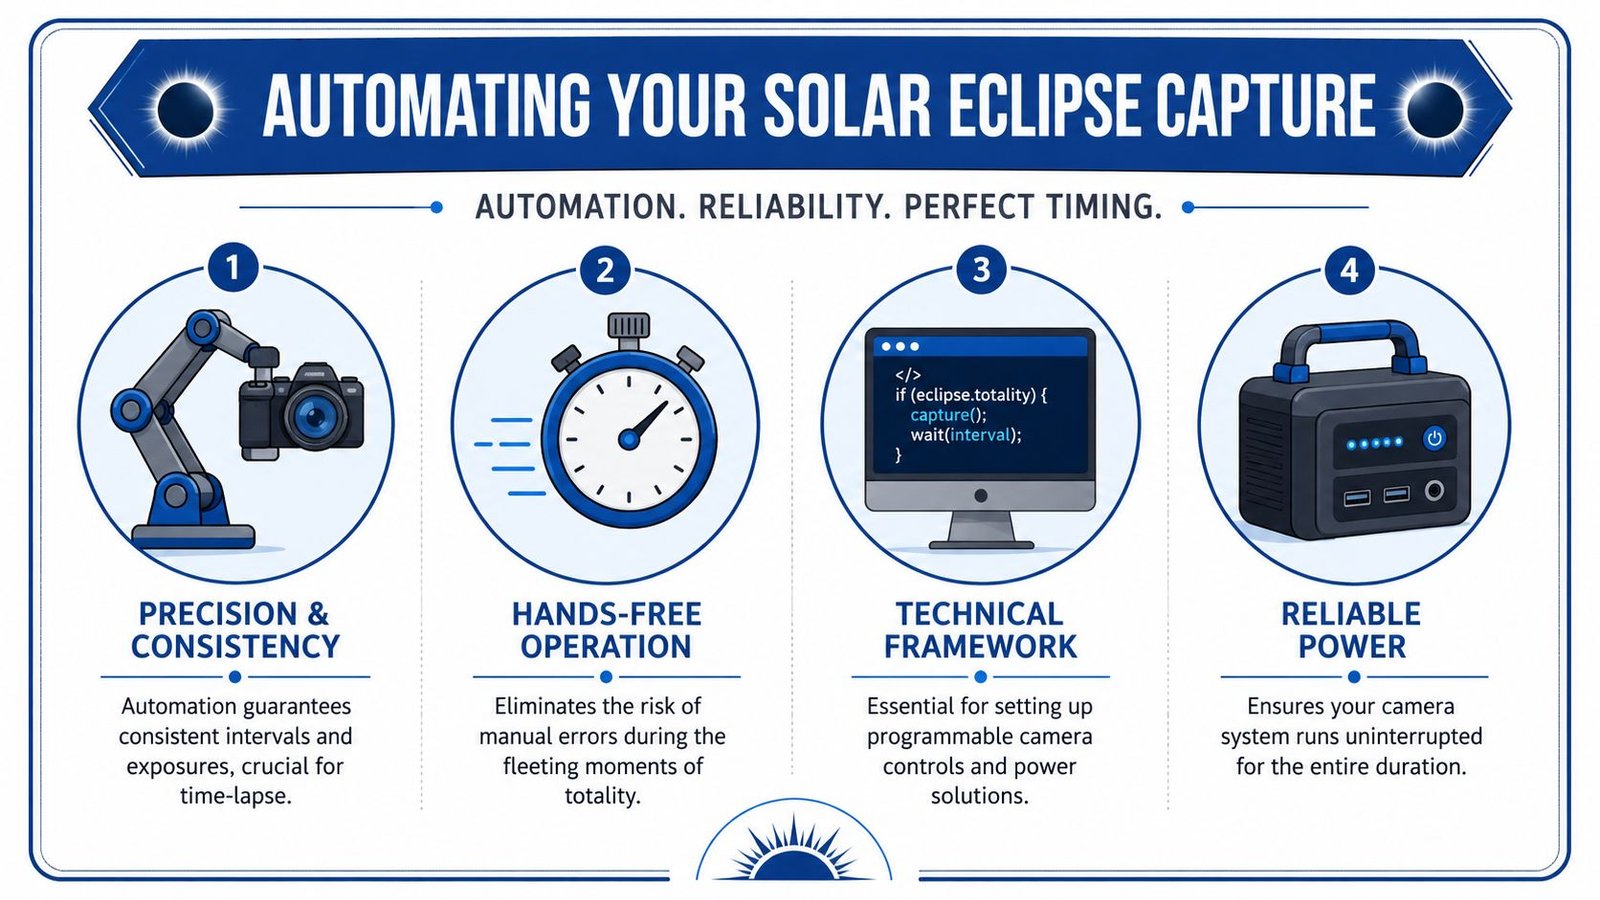
Use one plan for the partial phases and another for totality
A single interval for the whole eclipse is the mistake I see most often. The partial phases change slowly enough that a longer cadence works well, but totality is dense with short-lived detail. The corona structure, ambient light drop, horizon color, and crowd reaction all change faster than your camera settings can if you treat the entire event as one uniform sequence.
A practical starting point comes from this astrophotography discussion on eclipse interval planning, which explains why a long interval can suit the early build-up but leaves totality feeling thin. It also highlights the wide exposure swing between sunlit filtered phases and the darkest part of totality. That range is the core automation problem.
My recommendation is to build two capture modes and rehearse the handoff:
- Partial phases: Use a longer interval to save frames, battery, and card space.
- Transition window: Tighten the interval before totality, and use timed alerts so you are not glued to the rear screen.
- Totality: Switch to a faster sequence that prioritizes coverage over clip length efficiency.
For Spain, trigger that transition earlier than you think. Low altitude adds horizon haze and color shifts, so exposure can drift before the dramatic part begins. For Iceland, favor the simpler preset structure. If weather forces a roadside move, a two-mode setup is easier to recover than a stack of half-automated contingencies.
This is a good point to watch a visual walkthrough of eclipse capture logic before you build your own sequence:
Field-Tested Automation
Automation should reduce decisions under pressure. It should not add a maze of menu changes that only make sense at home.
The most reliable setup I use keeps the camera responsible for repetition and keeps me responsible for one or two physical interventions. Interval timing, bracket cadence, and exposure progression can be programmed. Reframing at sunset, checking for cloud loss in Iceland, or confirming the filter handoff still belongs to the photographer.
A dependable workflow looks like this:
- Program the partial-phase sequence first: Keep it efficient and conservative.
- Save a separate totality preset: Faster interval, different bracket behavior if needed, and no menu hunting.
- Use audible alerts: A timer app is more useful than constant screen-checking.
- Dry run the full sequence outdoors: Include gloves, tripod height, and the exact bag layout you will use on site.
- Plan for one failure: Wind shake, a delayed preset switch, or a missed alert should not end the sequence.
Modern scripting helps here, especially for cameras and controllers that support preset changes or timed exposure ramps. The best scripts are boring. They switch at known times, log what they did, and avoid fancy branching logic that can fail when the temperature drops or the battery sags.
Exposure strategy during the light collapse
The hardest part of eclipse automation is not interval timing. It is handling the brightness drop smoothly enough that the sequence still edits cleanly later.
There are two workable approaches. One is a controlled manual base exposure with limited automation around it. The other is dense bracketing during totality, then choosing or blending frames in post. Both can work. The trade-off is operational. Bracketing gives more insurance on corona detail, but it increases the chance of buffer delays, timing drift, and uneven frame spacing if the camera is already busy.
For the 2026 sunset eclipse in Spain, I would bias toward a simpler exposure plan unless the camera has a proven fast buffer and a bracket sequence you have already tested end to end. The lower Sun can produce changing haze and warmer tones near the horizon, and those shifts can make aggressive automation look jumpy. In Iceland, where clouds may force a quick relocation or a last-minute restart, simple wins again. A camera that resumes a known interval sequence is more useful than a complex stack you need to troubleshoot in the cold.
The goal is not perfect exposure on every frame. The goal is a sequence that survives the event and gives you enough overlap for holy grail ramping and deflicker work later.
Practical rule: Build the sequence around totality and the transition into it. The partial phases are easy to recover from. The central minutes are not.
Post-Processing Your Time Lapse for Maximum Impact
Editing is where an eclipse sequence either becomes cinematic or stays a technical record. The raw image sequence often contains the right moments, but they're buried under flicker, abrupt timing changes, and an exposure curve that feels mechanical instead of natural.
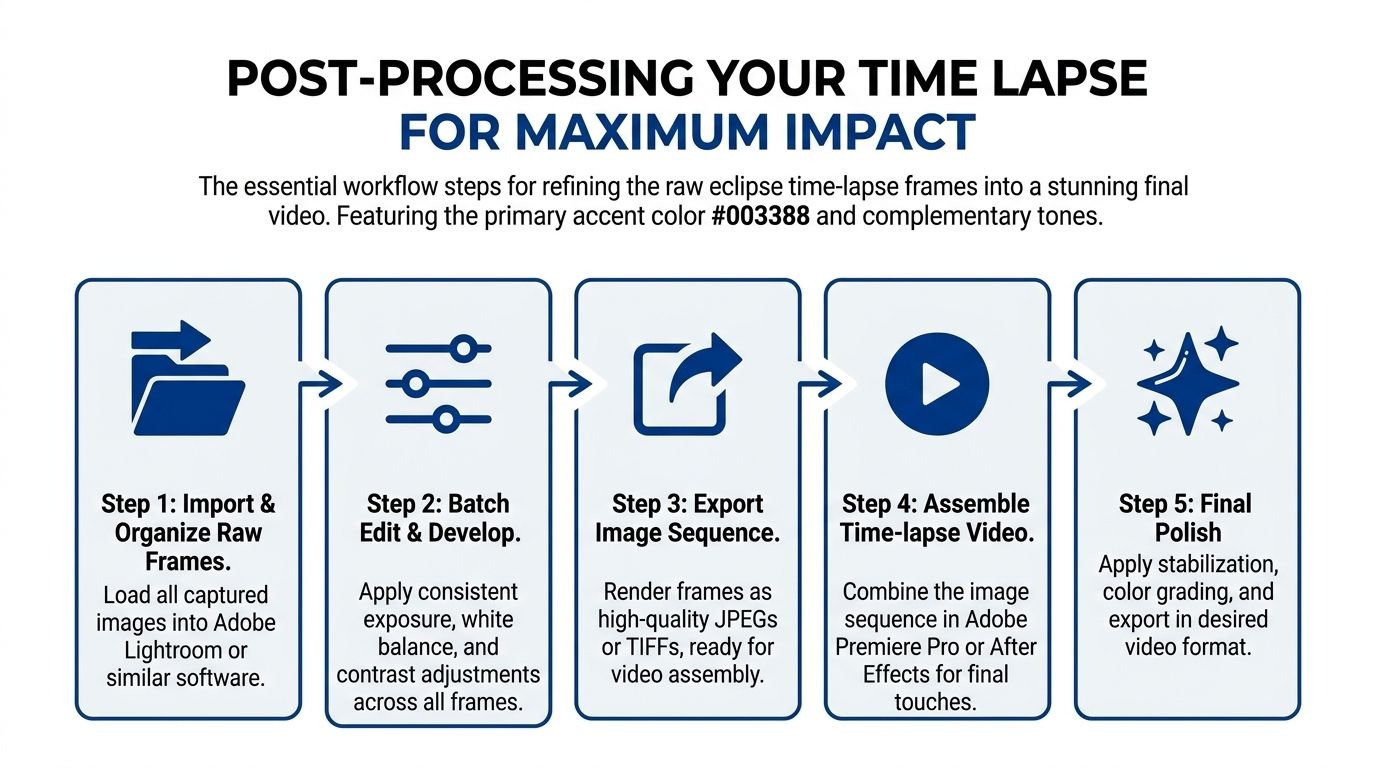
Deflicker first, style second
The first job is stability. Import everything into Lightroom or your preferred raw editor, keep global adjustments restrained, then move into LRTimelapse or a similar tool for exposure smoothing. If your brightness shifts from frame to frame, no color grade will rescue the result.
There's also a gap in current eclipse workflows. Existing guides don't really solve the post-totality automation problem for variable exposure bridging, especially when you're trying to stitch a very large light drop smoothly. That's where modern ramping tools and custom scripts become useful, not because they're trendy, but because they reduce the ugly brightness jumps that still plague many eclipse edits.
A sensible edit order looks like this:
- Cull obvious failures first: Wind blur, accidental bumps, and filter-handling frames should go before any global work.
- Create keyframes sparingly: Too many adjustment points can make the sequence breathe in a distracting way.
- Deflicker before grading: Neutral consistency comes first.
Time-ramping is what makes the sequence feel right
A full-sequence solar eclipse time lapse needs changing speed, not just changing brightness. The partial phases can move quickly. Totality should breathe. That pacing difference is what makes viewers feel the event rather than merely understand it.
The interval choice you made in the field controls how much room you have in the edit. For the holy grail day-to-night-to-day transition, photographers recommend a 2 to 3 second interval during totality, because a 5-second interval over 150 seconds of totality yields only about 1 second of darkness in the final video, which isn't enough according to the Alpine Lab eclipse guide. That's one of those decisions you only get to make once.
In the timeline, I usually ramp down into the approach to totality, ease into the darkest section, then let the sequence accelerate again after third contact. The edit should also preserve the experiential difference between deep partial eclipse and actual totality. Many viral 2024 timelapses missed that distinction, which is why location notes, ambient context, and the feel of the surroundings matter almost as much as the Sun itself.
Don't over-polish the corona. If the highlights turn plastic, the sequence stops feeling like sky and starts feeling like graphics.
Advanced Tips and Troubleshooting Common Issues
Plans fail in predictable ways. The smart move is to decide now what you'll do when one part of the shoot goes sideways.
If clouds or haze ruin the clean solar view
Spain's sunset geometry makes haze a real possibility. Iceland can block the Sun with fast cloud even when the rest of the sky looks usable. If that happens, switch mentally from a solar-detail shot to an ambient-light story. A wide-angle setup can still capture the sky dimming, the horizon color shift, shadow movement, and people reacting.
That footage won't show the same coronal detail, but it can still become a strong time lapse if the camera remains stable and the composition includes enough of the environment to show the eclipse acting on the surroundings.
If your main capture plan breaks
Intervalometers fail. Batteries drain faster than expected. Cold and wind expose every weak point in your setup.
Use a backup approach:
- Carry a manual fallback: If automation dies, shoot a simplified sequence at regular intervals rather than freezing and losing the whole event.
- Practice with the Moon: A lunar session won't replicate the eclipse, but it will expose tripod issues, remote timing problems, and focus mistakes.
- Protect against moisture: In Iceland especially, keep lenses and bodies sheltered before the shoot so you're not fighting fogging at setup.
- Simplify under pressure: One reliable body is better than two half-managed rigs.
Why being inside the path matters
A deep partial eclipse looks dramatic. It is not totality. The corona, the full environmental collapse of light, and the emotional snap of the event depend on being inside the path.
That's also why timing the filter change matters so much. A critical pitfall is failing to remove the solar filter at the right moment, and the recommended protocol is to remove it 3 to 5 minutes before totality begins while using an app such as Solar Eclipse Timer for auditory alerts according to this field-focused eclipse video guide. If you miss that step, you can come home with a perfect record of everything except the part you traveled for.
The best practice is brutally simple. Rehearse the whole workflow until it feels boring. Then do it again with gloves, in wind, and while standing.
If you're planning where to watch or photograph the eclipse, Total Solar Eclipse 2026 Live is a useful place to check path geometry, local timing, safety guidance, and practical viewing details for Spain, Iceland, and cities across Europe before you lock in your trip.